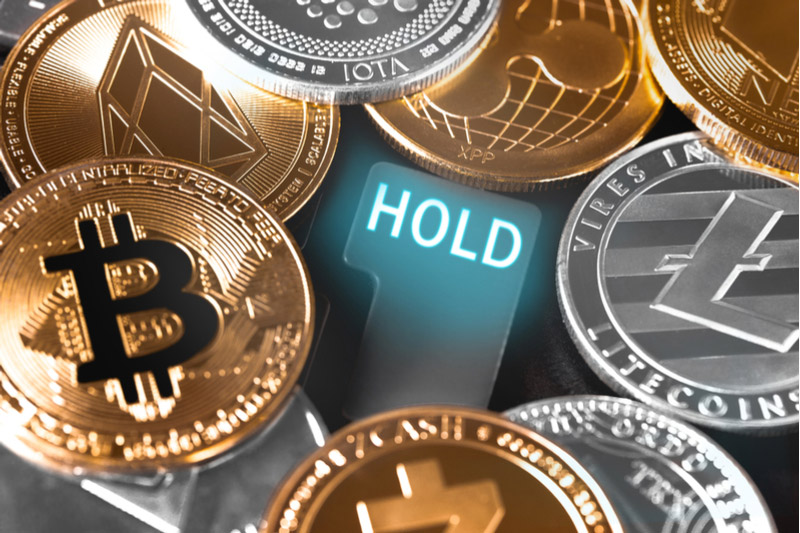
The creators’ economy is witnessing a major shift with the inception of non-fungible tokens, or NFTs, as they are commonly called. Notably, NFTs enable creators to tokenize and commercialize their digital assets while eliminating middleman interference during transactions.
Not only have NFTs made commercializing digital assets easier, but they also make their ownership easily provable and transferable by encrypting each digital asset with a unique identification key and metadata that distinguishes one from another.
With these benefits easily accessible, there is a growing interest in NFTs, particularly among creators who are continuously seeking information on how to easily create and sell NFTs. If you fit into this description, look no further because this article will show you exactly how to make and market NFTs.
However, before we go on to dish out the steps, it is equally important to keep in mind that there are some attributes to consider when choosing a platform for creating NFTs.
Particularly, the transaction speed, computational requirements, transaction cost, smart contracts compatibility, forking potential, and security of the host blockchain must be considered when choosing a platform to create and sell NFTs.
In a previous publication, we discussed the importance of the aforementioned attributes and why they matter when choosing a platform for NFT development. Find out more via the link below.
Top 10 Blockchain Networks for NFT Development
Each NFT marketplace has its unique approach to creating and selling NFTs; however, some basic fundamental knowledge is applicable across the board.
1. Create a Digital File
You may have heard that anything can be turned into an NFT, which is completely true. However, before converting them to NFTs, one must first create a digital copy of the object in question, be it a physical structure, a flying object, or a moving stream. If the thing you want to convert is already in digital format, you won’t have any trouble; if not, you might need to take a picture of it or record it if it’s a sound or in motion.
2. Create a Digital Wallet
To create an NFT, you will need some cryptocurrency, necessitating the creation of a digital wallet where you can store it. However, beyond the storage of cryptocurrency, this digital wallet is also required when setting up an account on your preferred choice of NFT platform, as it will also be required to store your NFT collection and purchases.
Also, when creating a digital wallet, it is vital to ensure that your choice of a digital wallet supports the accepted cryptocurrency on the NFT platform.
In this case, a widely preferred digital wallet is Metamask, a crypto e-wallet hosted on the Ethereum blockchain network. This particular digital wallet can be installed on any web browser as an extension or downloaded as a mobile application.
There are several reasons why Metamask is a perfect choice for NFT development, one of which is its ability to synchronize multiple digital wallets, enabling users to switch between the Ethereum mainnet and others like Binance mainnet, Cardano, Solana, and many more. You can read our beginner’s guide to Metamask, which includes installing and setting it up, via the link below.
A Beginner’s Guide to MetaMask: What Is It and How Does It Work?
3. Fund Your Wallet with Cryptocurrency
Once you have created a digital wallet, the next step is to fund your account with your preferred cryptocurrency that is also applicable on the NFT platform of your choice.
For instance, Metamask supports the majority of cryptocurrencies built using the ERC-20 protocol. Likewise, it can store other cryptocurrencies supported by any blockchain mainnet that is synchronized on the platform, making it a very versatile digital wallet option to consider.
4. Choose an NFT Platform
After setting up and funding your crypto wallet, the next thing to do is to determine the NFT category that resonates with you (i.e. your skill). Once you have that figured out, go ahead and choose an NFT platform that specializes in that particular offering and set it up.
For instance, NFT platforms specialize in various categories cutting across artwork, photography, virtual worlds, sports, photography, domain names, music, collectibles, and many more.
While some NFT platforms, such as Opensea and Binance, offer numerous categories, others might only offer one category or a very limited number of categories. Either way, you can choose a platform that is most relevant to your art category and has the highest demand or patronage for it based on your preferences.
5. Sync Your Wallet with the NFT Platform
Once you have made the choice of platform to create your NFT, proceed to sync the external digital crypto wallet you have downloaded earlier to the NFT platform.
Let’s assume you are using Opensea in this case; you will come across a page like the one illustrated above.
By clicking on the “create” option, you will be redirected to a page requesting you to connect your wallet. From the illustration below, you will be given the option to choose from a list that includes Metamask as a popular option for users.
Choose your preference from the list and proceed to install, and after that, sync to the NFT platform. By now, you are more than halfway done. So what’s next?
6. Upload the File You Want to Turn into an NFT
Once you are done syncing your external wallet to your preferred NFT platform, you will proceed to create an NFT. Depending on the website, you can start by clicking on the option that reads “create.”
Let’s assume you have chosen Rarible this time around; by selecting create, you come across a page like the one below, asking you to choose between “single” or “multiple.” Choosing single basically means you want your collection to be one of a kind, while multiple implies that you want to sell one collectible multiple times.
Either way, you will be subsequently asked to upload the digital file of what you want to turn, i.e. mint, into an NFT. Minting, if you are not aware, refers to the process of tokenizing a digital asset, which in this case, is the file that is being uploaded. By tokenizing, you are essentially recording the digital file on the blockchain while encrypting it with a unique identifier in the process.
Usually, some platform accepts only a specific type of digital file, but in this case, Rarible accepts about five different types, including GIF, WEBP, PNG, MP3, and MP4 files up to 30MB in size. By now, you have executed the major portion of the entire process.
7. Setup an Auction for Your NFT
After uploading and minting your digital file, the next step is to put it up for auction. To do this (on the Rarible platform), you will proceed to click on the option that says “put on the marketplace.” Typically, most NFT platforms have their own in-app marketplace where you can put up your NFTs for sale.
In this case, Rarible gives you three main options to choose from when setting a period of time for which buyers can place bids on your auctioned item. There is a “fixed price” option, implying that no bid is required, and collectors can buy at that price until the sales window is over.
There is also a “timed auction,” which often lasts for a set time during which collectors can place bids on your item until you finally accept one. The third option, “unlimited auction” is not timed, implying people can keep asking for bids until you find one that’s worth the wait.
Let’s assume you have chosen the “timed auction” in this case; you will proceed to choose a “minimum bid/price,” which is the least amount a potential buyer can place on the item as a bid.
After that, you will get a prompt to “unlock once purchased.” This option essentially provides the eventual buyer with the right to have access to and claim the original NFT file with high resolution as well as additional material that is downloadable via a secret web page or download link.
8. Add Description to Your NFT
The next step in the process of setting up an auction for an item is to add a title and captivating description. You can tell a back story about the item such that it resonates and captivates the potential buyer.
Once you have done that, you can proceed to set a percentage return you want as royalty from the future resale of the item. It is best that you don’t add an exuberant figure as it could scare the potential buyers away. Usually, the most advisable range is between 5 to 10%, even though some put it as high as 15%, especially if the item has huge potential to attract a high volume of potential buyers.
9. Pay the Listing Fee
As we mentioned earlier, minting an NFT isn’t free. Although the price charged across different platforms varies, you will certainly pay a listing fee, which usually comprises your minting fee and the platform’s maintenance fee to have your NFT sold.
It is advisable not to sell your NFT item for too little, or below the minting fee, as you may end up running at a loss from the start.
To pay the listing fee, you will be required to connect with your synchronized crypto wallet, where the fee will be deducted. Mind you, there is an option to edit your listing fee, which doubles as a gas fee. While there is a minimum fee payable by default, increasing the gas fee increases the speed by which your item is minted.
Also, keep in mind that for each sale on an NFT platform, a commission is applicable and payable to the platform.